Download your current Attributes File, add a new column for each additional attribute, re-upload the file on the Sample page using the 'Add Attribute' button
First, you can navigate to the Download section (or to the Samples section) to download a copy of your attribute file. Please note that once an attribute is uploaded it cannot be removed from the experiment, but you can add new ones by inserting a new column into the existing attributes file. New columns should be inserted to the right side. After adding your desired attributes in new columns and saving the file, navigate to the Sample page and click "Add Attribute" to upload the updated file. This option is limited to the Experiment Owner or Library Data Curator roles. After uploading successfully, you will then see those additional attributes appear on the Sample view. The newly added attributes can also be used to set up new Comparisons for Differential Expression or to reorganize the data within the interactive analysis of the Normalized Expression module. However, please note that Attributes added after launching the experiment analysis will not be included in the QC plots, as those are generated when initially submitting the experiment for analysis. For more information on how to upload an Attribute File during the initial experiment design stage, please see here.
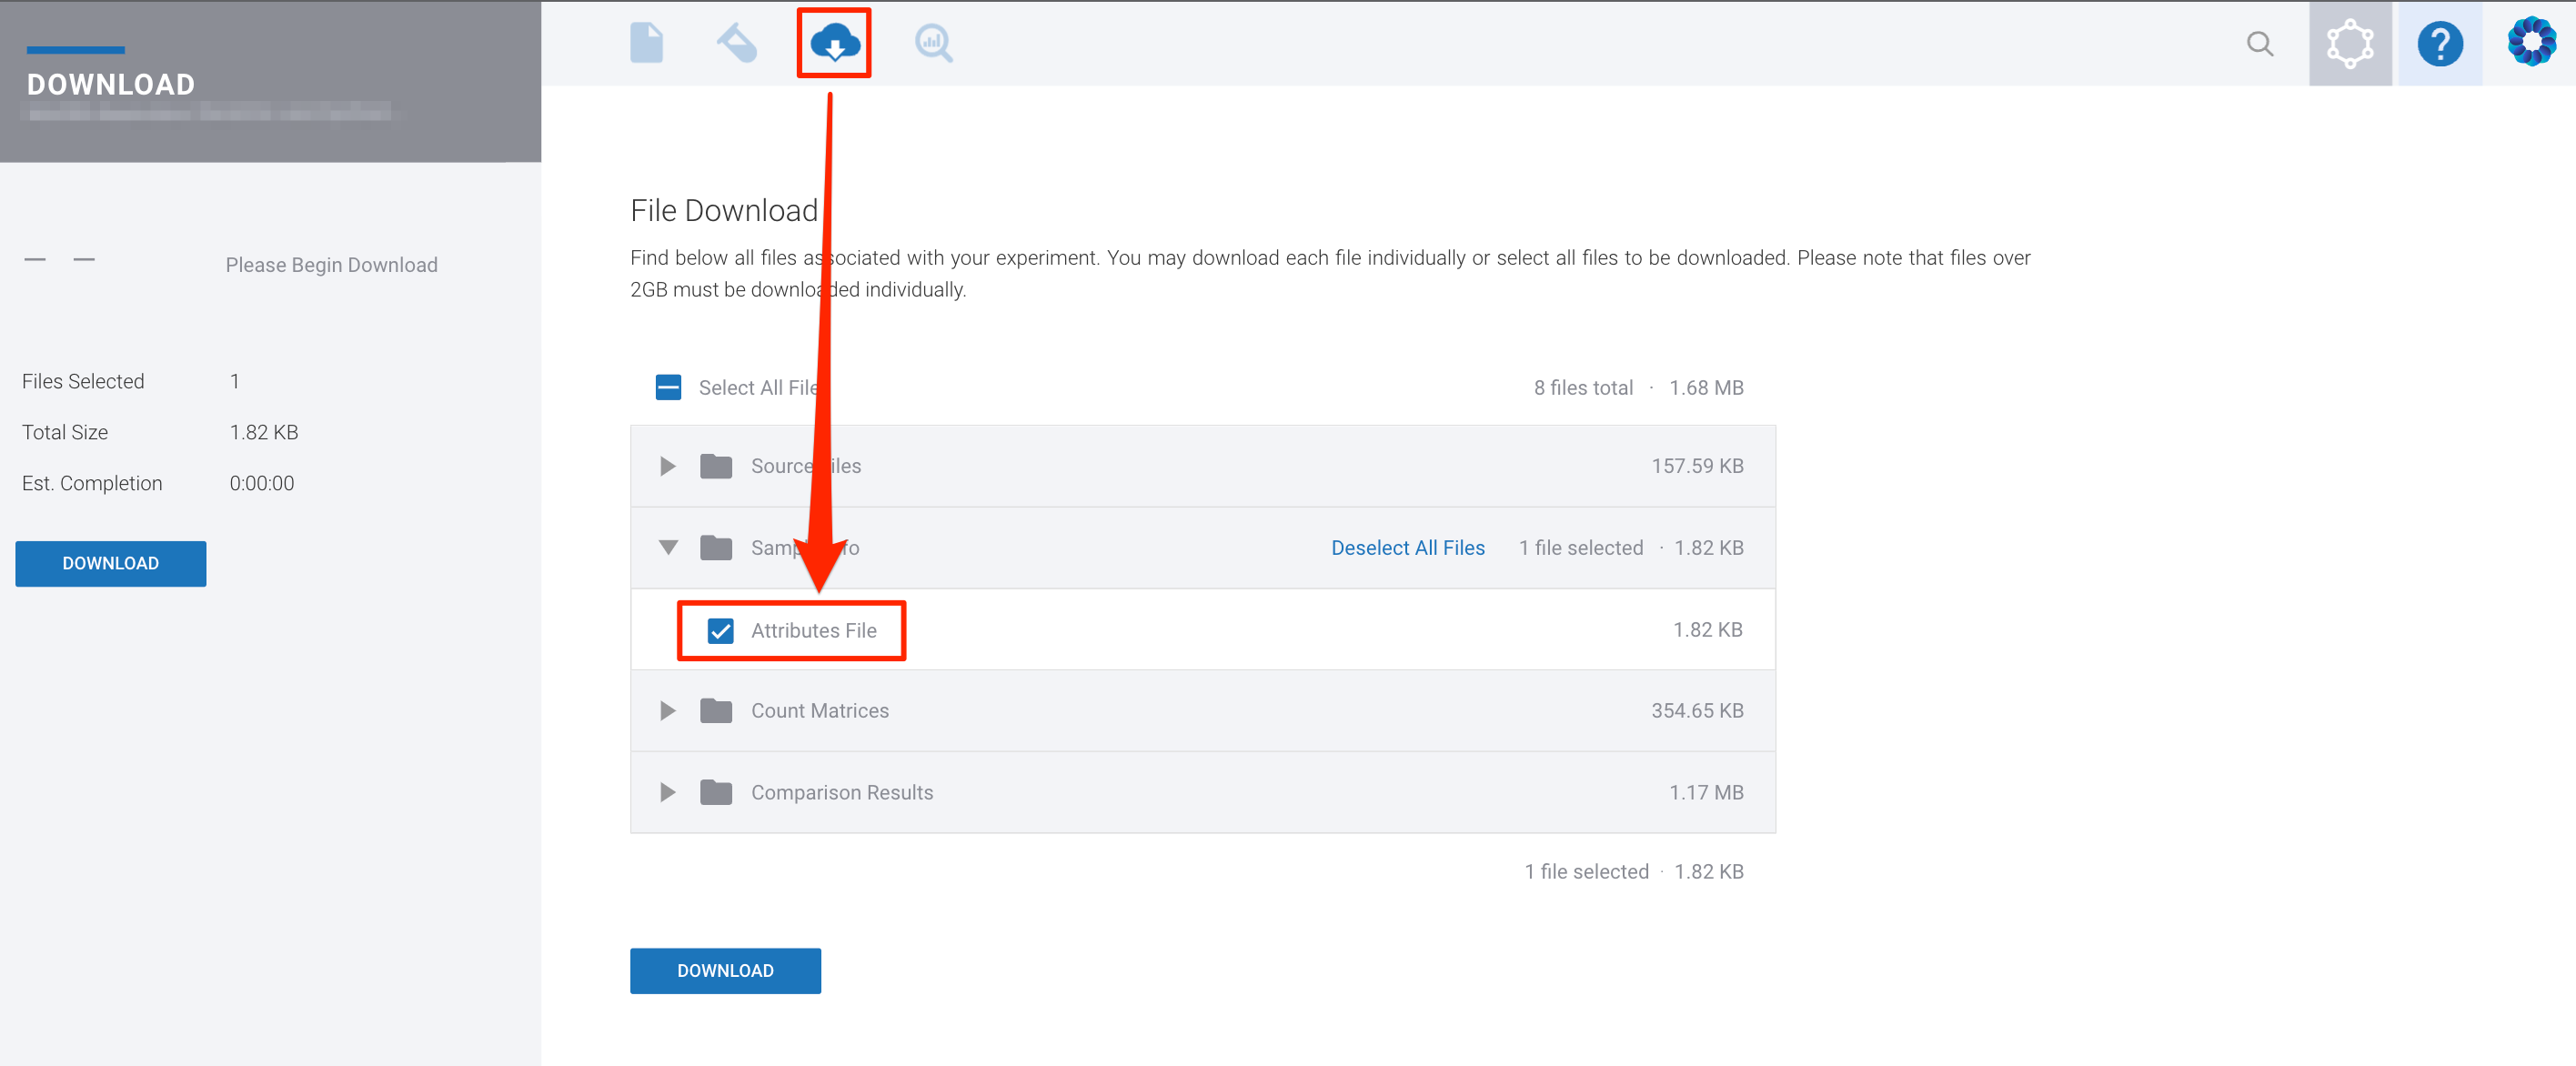
Download the attribute file:
After adding new columns to the file, navigate to the Sample tab and access the option to re-upload the file by clicking "Add Attribute"

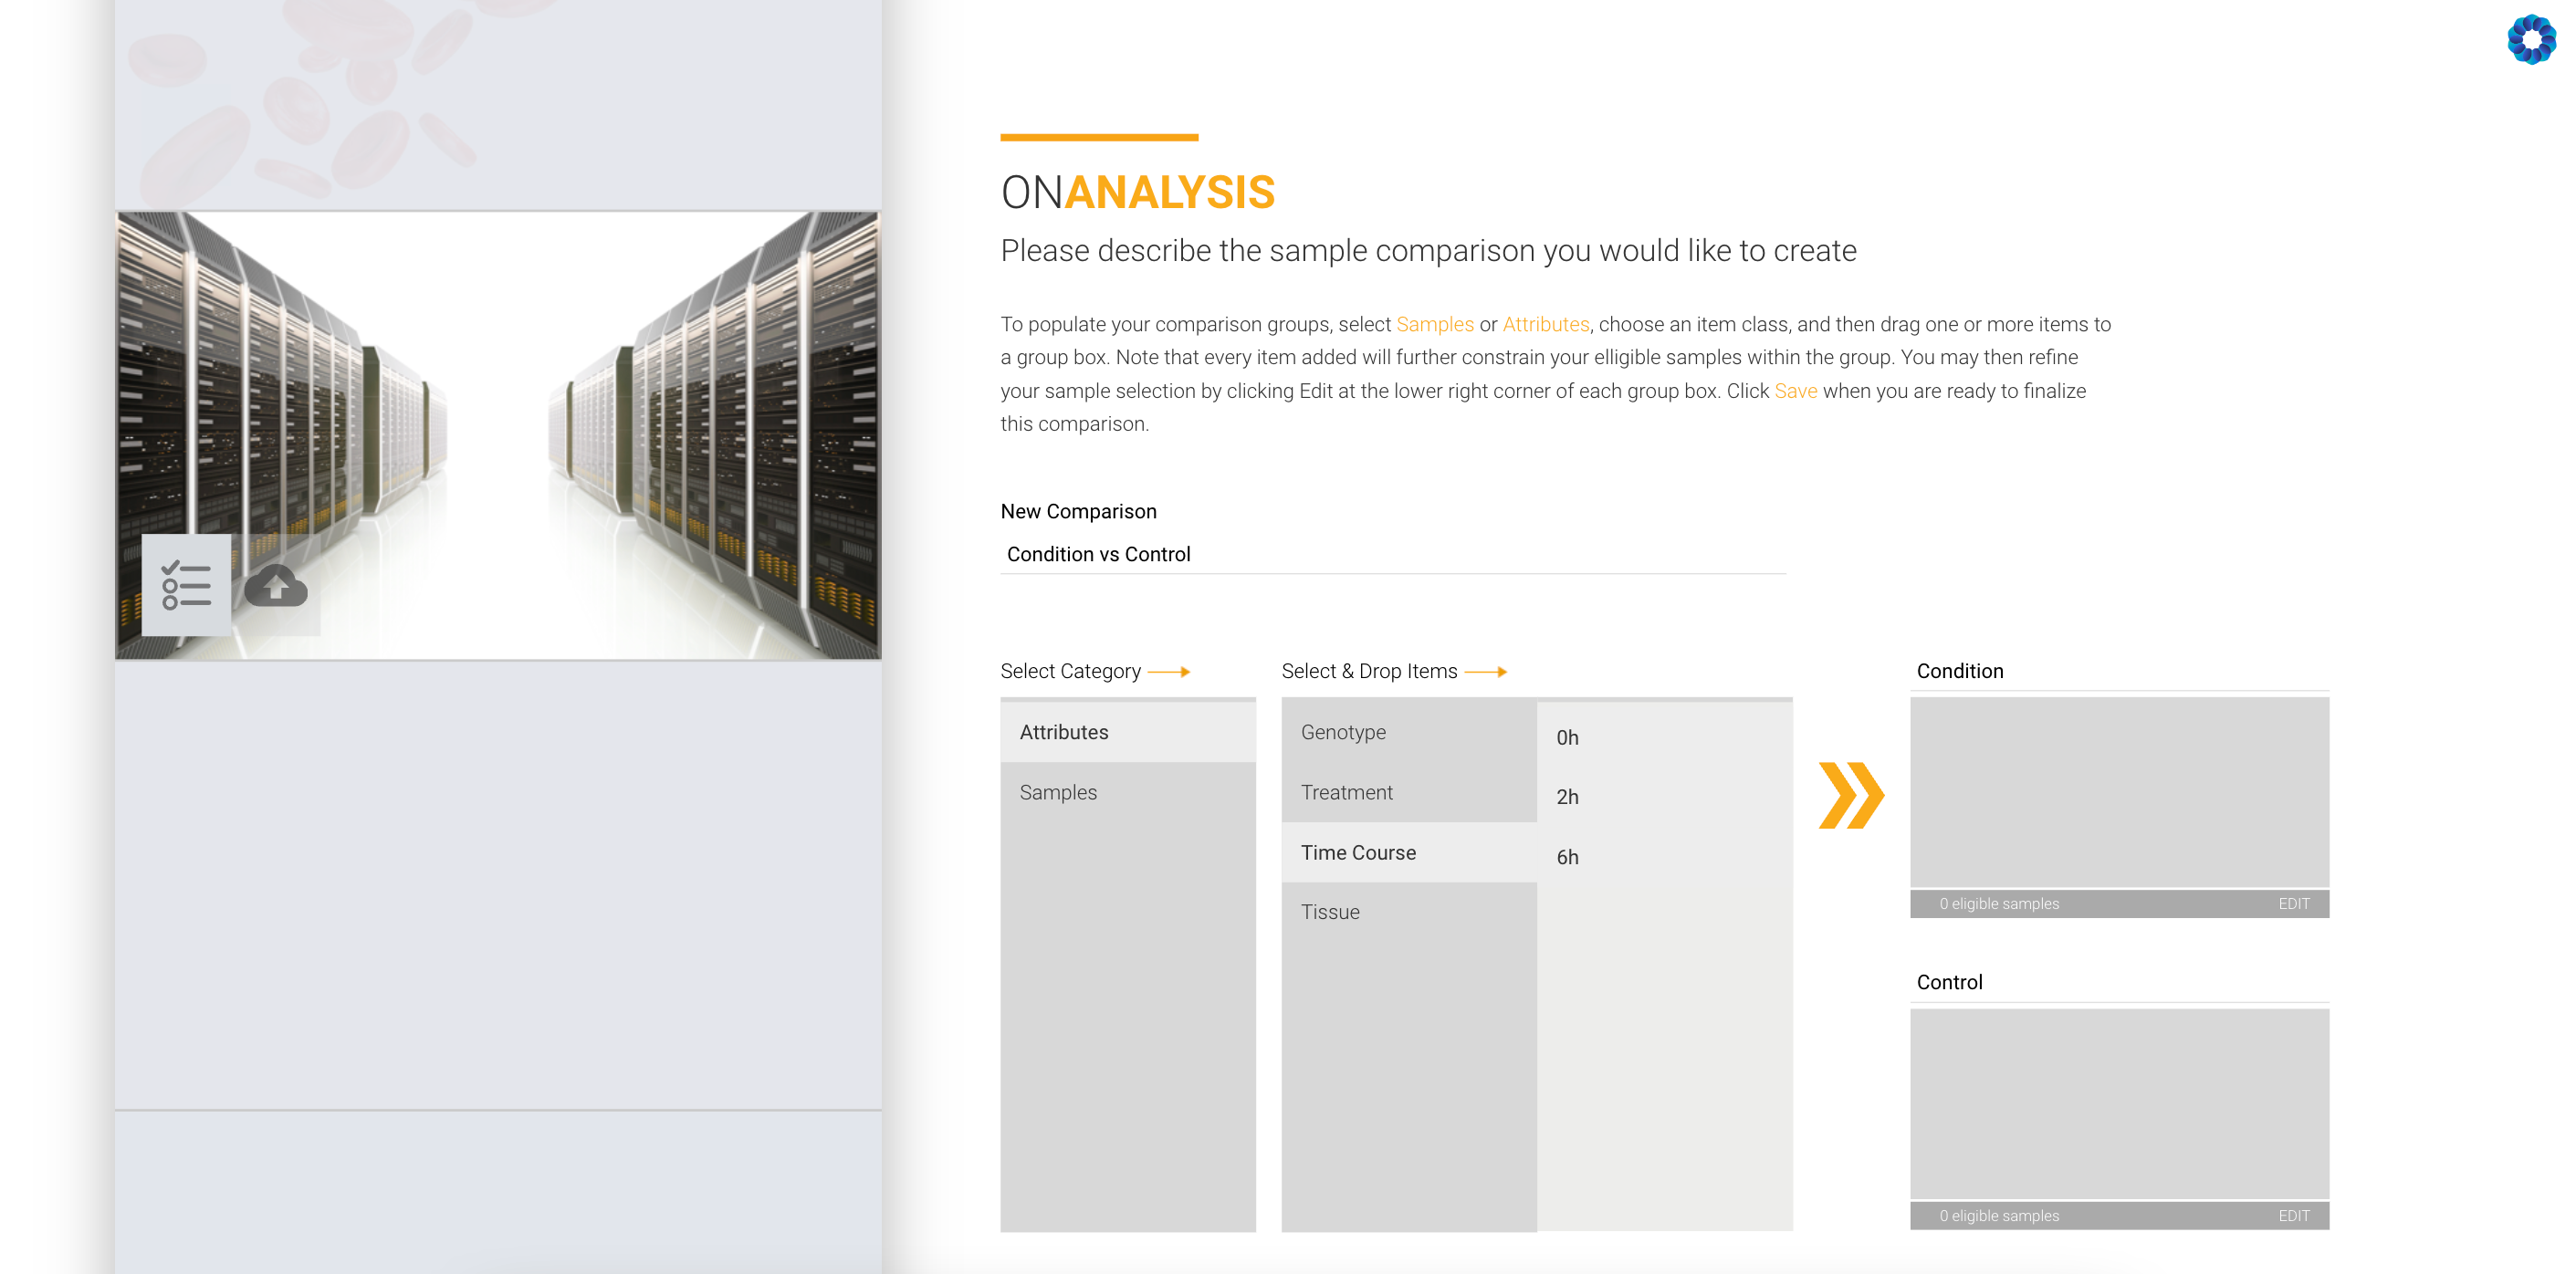
After new Attributes are added, they will now be available when setting up new comparisons:
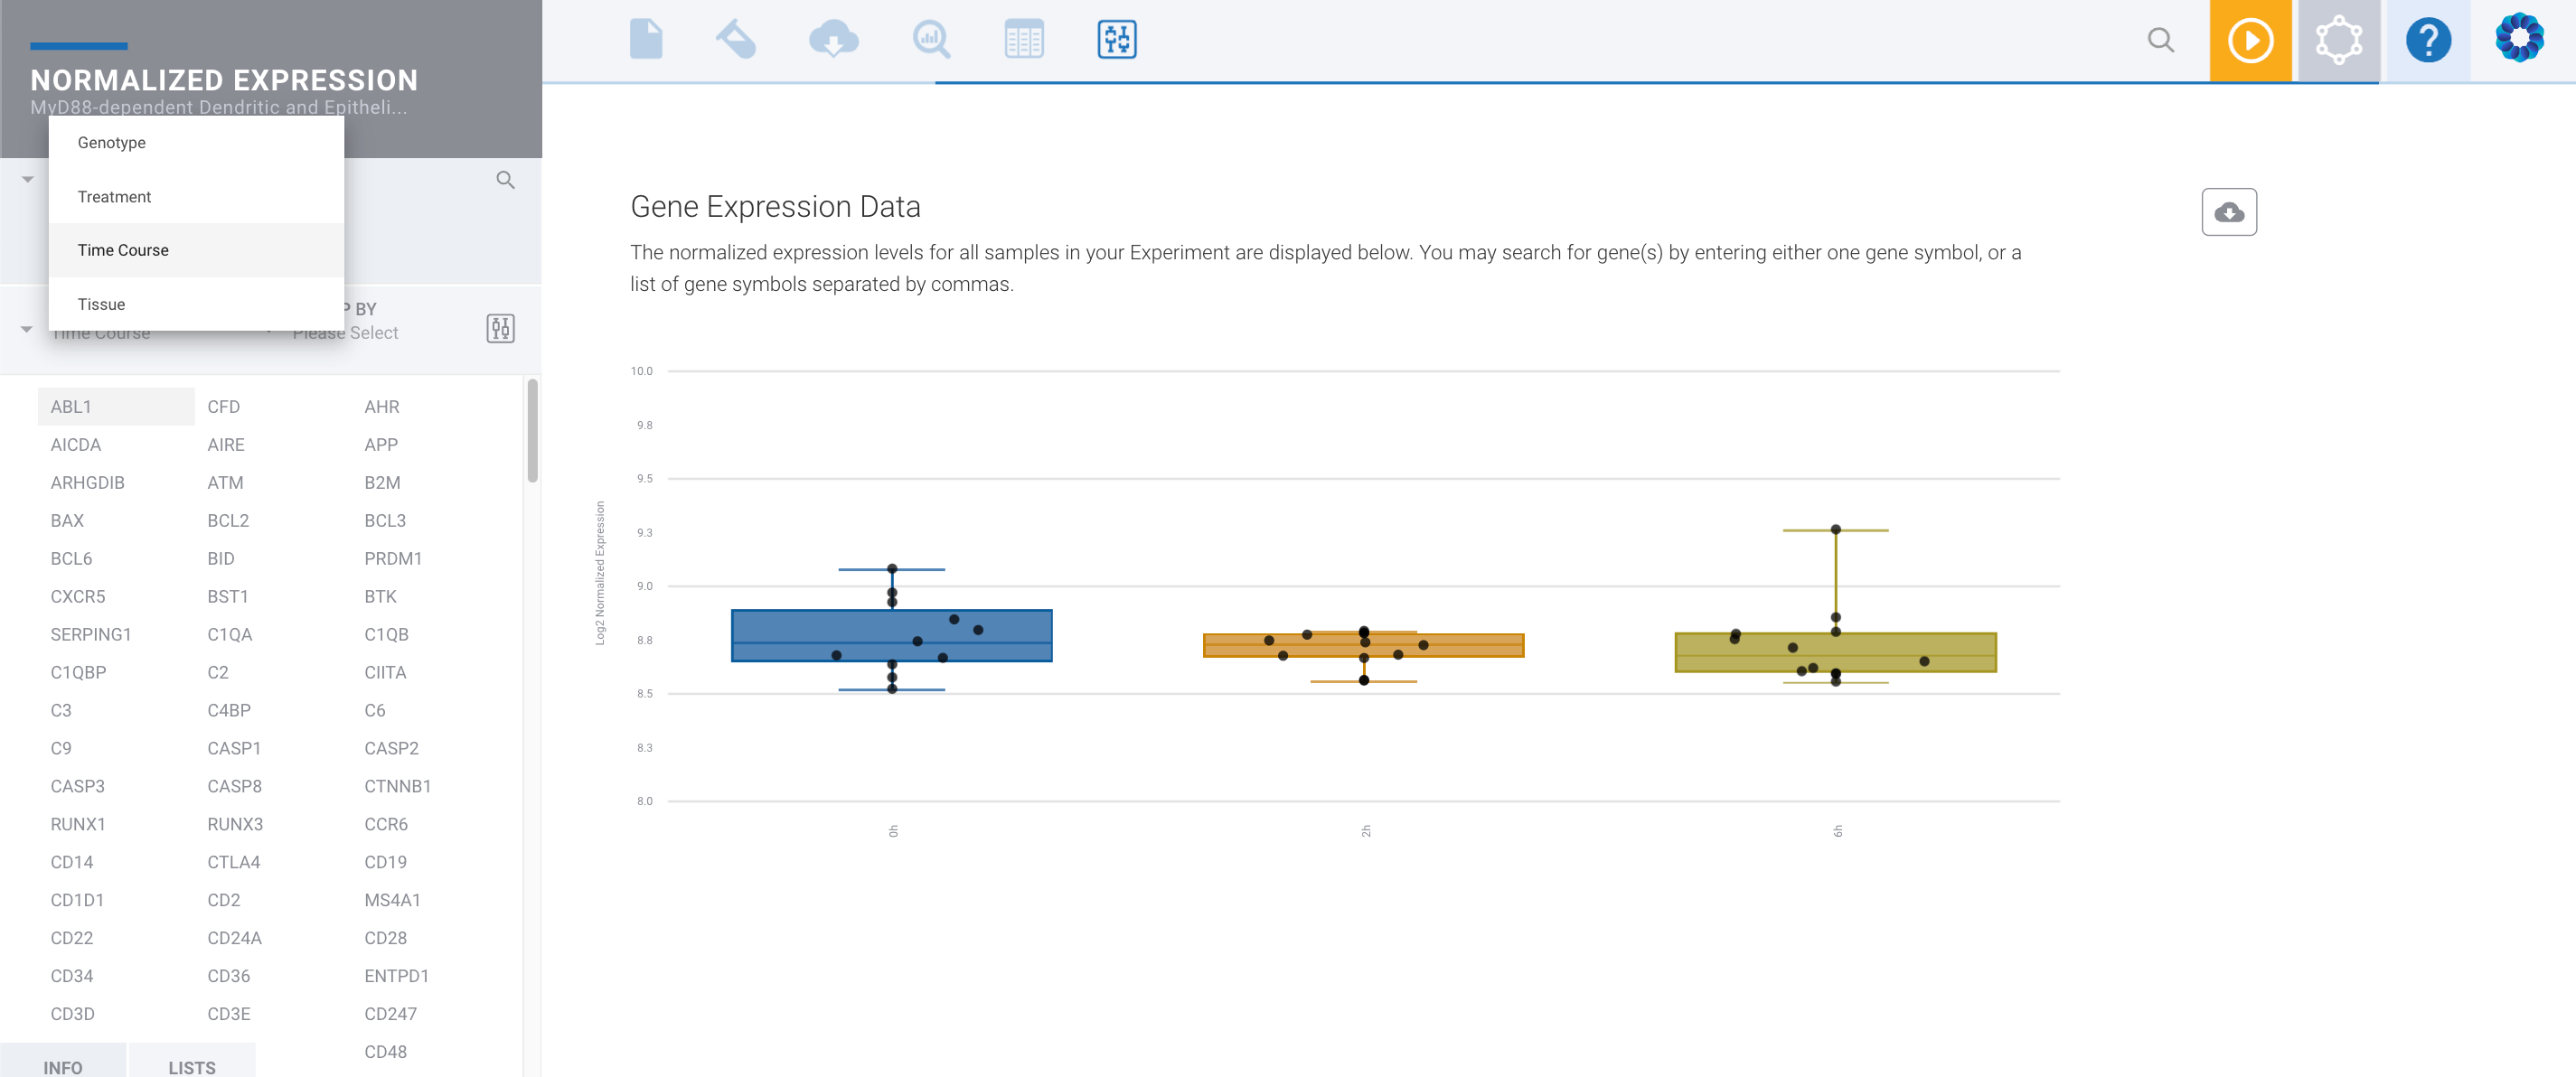
They will also be added as options on the interactive analysis, for example the "Color By" and "Group by" options on Normalized Expression module: